Scriptnest — Screenwriting
Scriptnest Manual
Build your story as a four-level tree, keep characters and locations as master data, and write the screenplay together with AI. Follow the real screens from creating a project all the way to exporting it.
1Creating and Managing Projects
First, create a “project” to manage your screenplay. In Scriptnest, it's also easy to manage separate “drafts” for each version.
Getting Started with a Project
Project List Screen#
After logging in, you'll see a list of your existing projects. Select the project you want to work on from here.
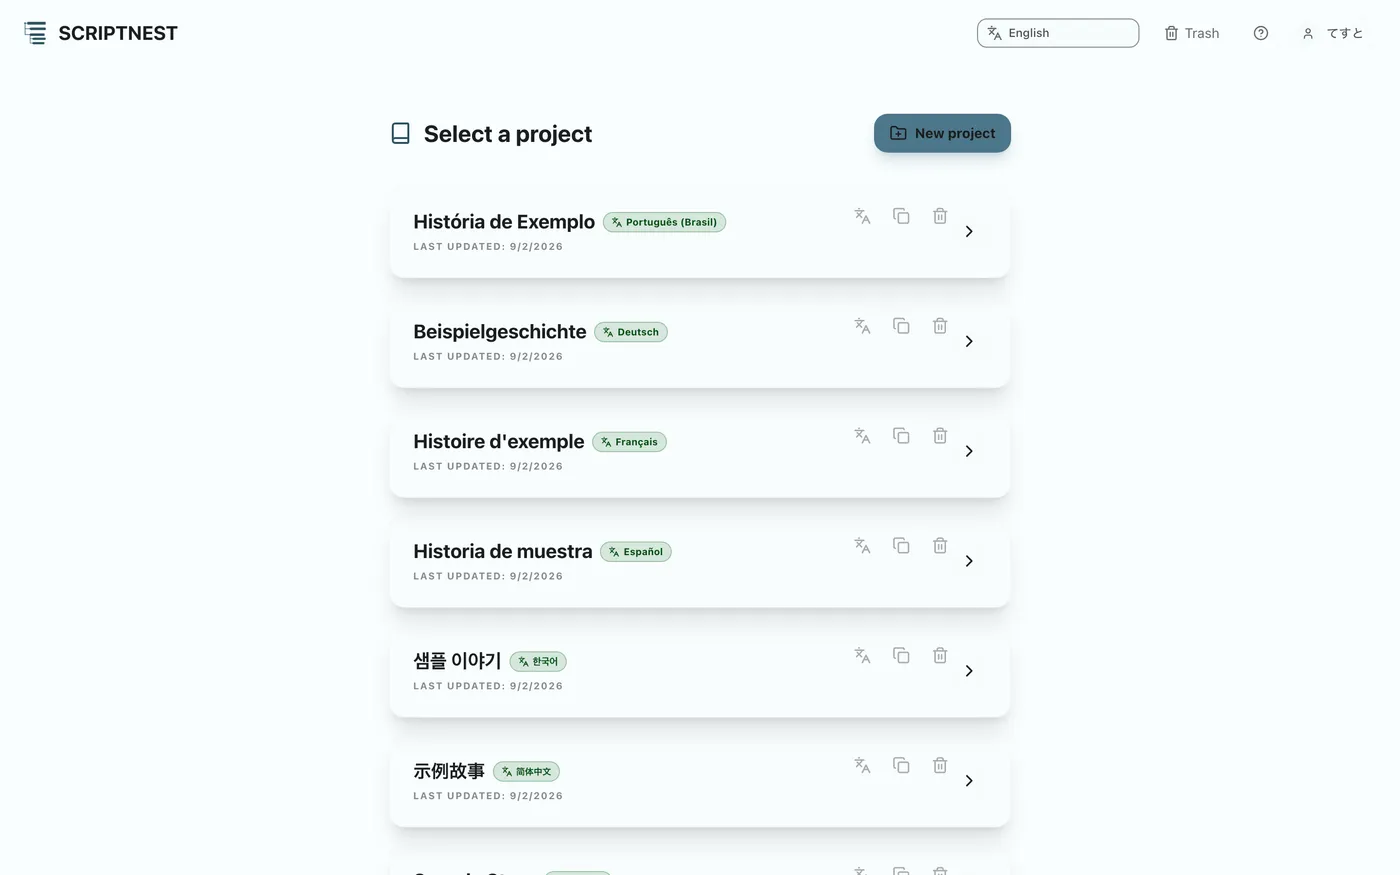
Creating a New Project#
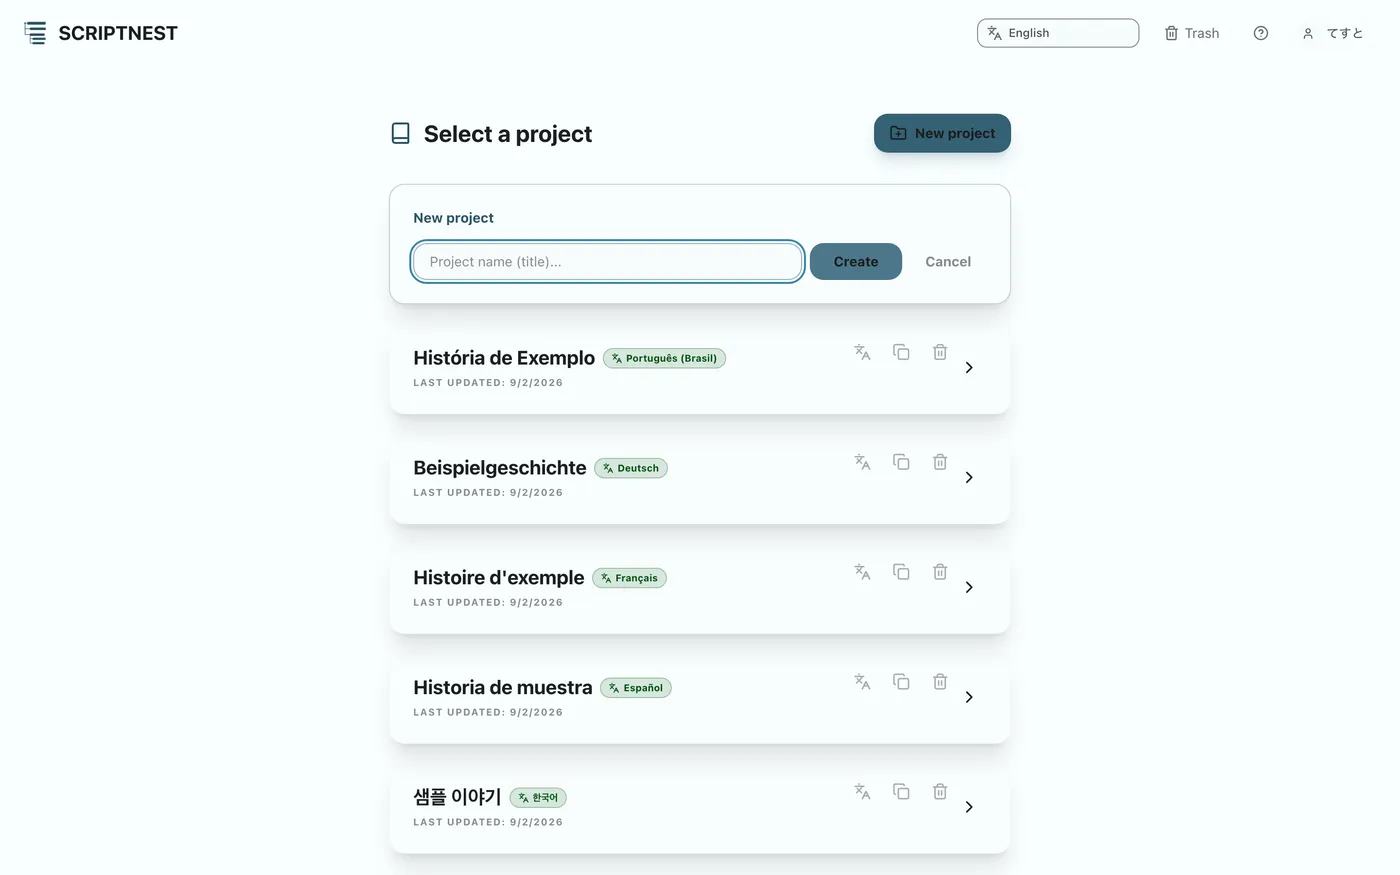
To start writing a new story, click the “Create New” button and enter a project name to create it.
Duplicating a Project (Creating a New Draft)#
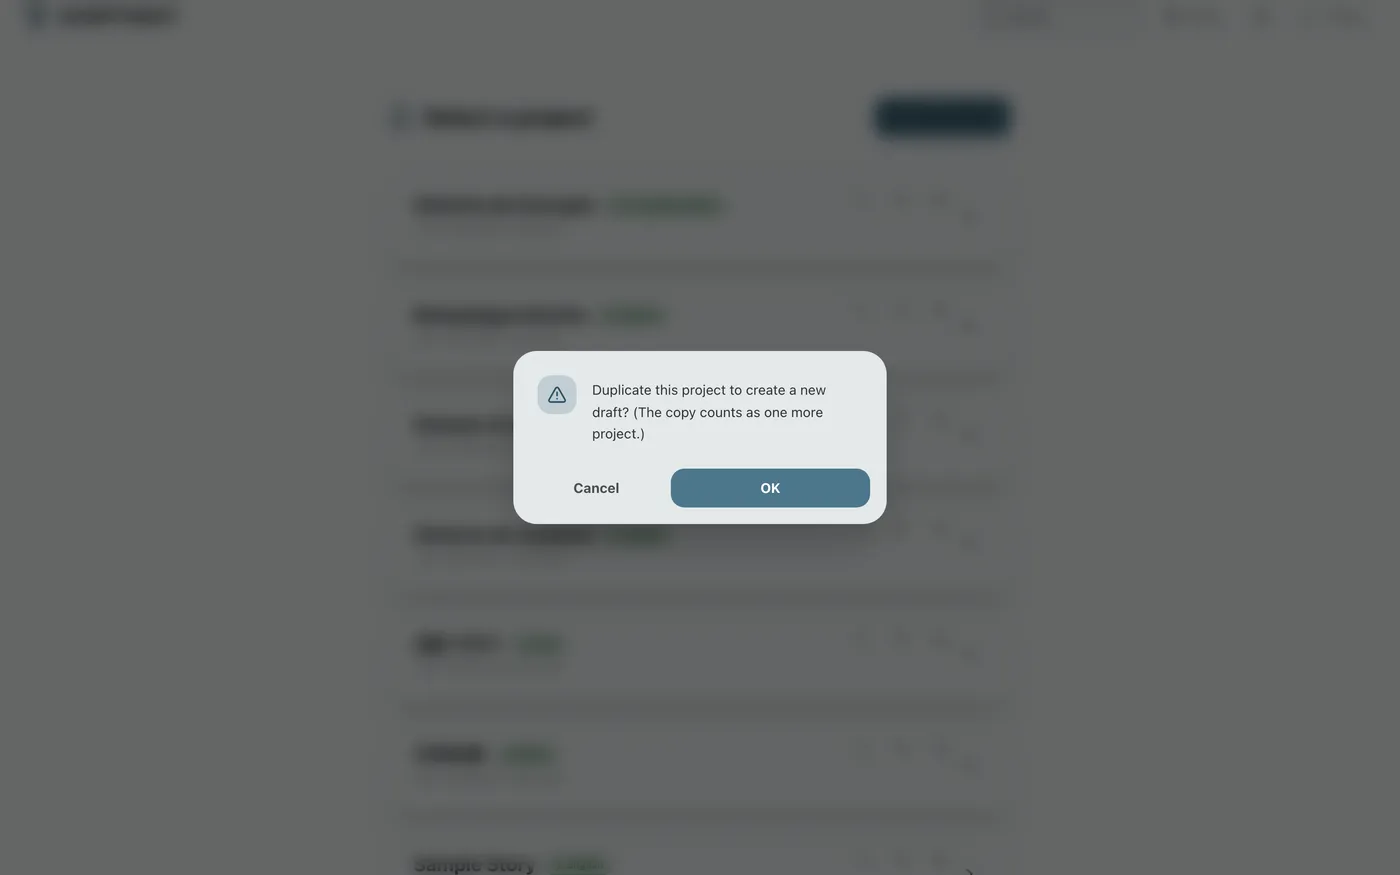
If you want to create a “second draft” based on an existing project, use the duplicate feature. You can proceed with revisions while keeping the original data intact.
2Building the Story Tree
Scriptnest's biggest feature is that it lets you visually organize your story into four levels: “Line,” “Sequence,” “Scene,” and “Actie (Action).” You can build even complex plots without losing your way.
Creating the Hierarchical Structure
Overview of the Story Tree#
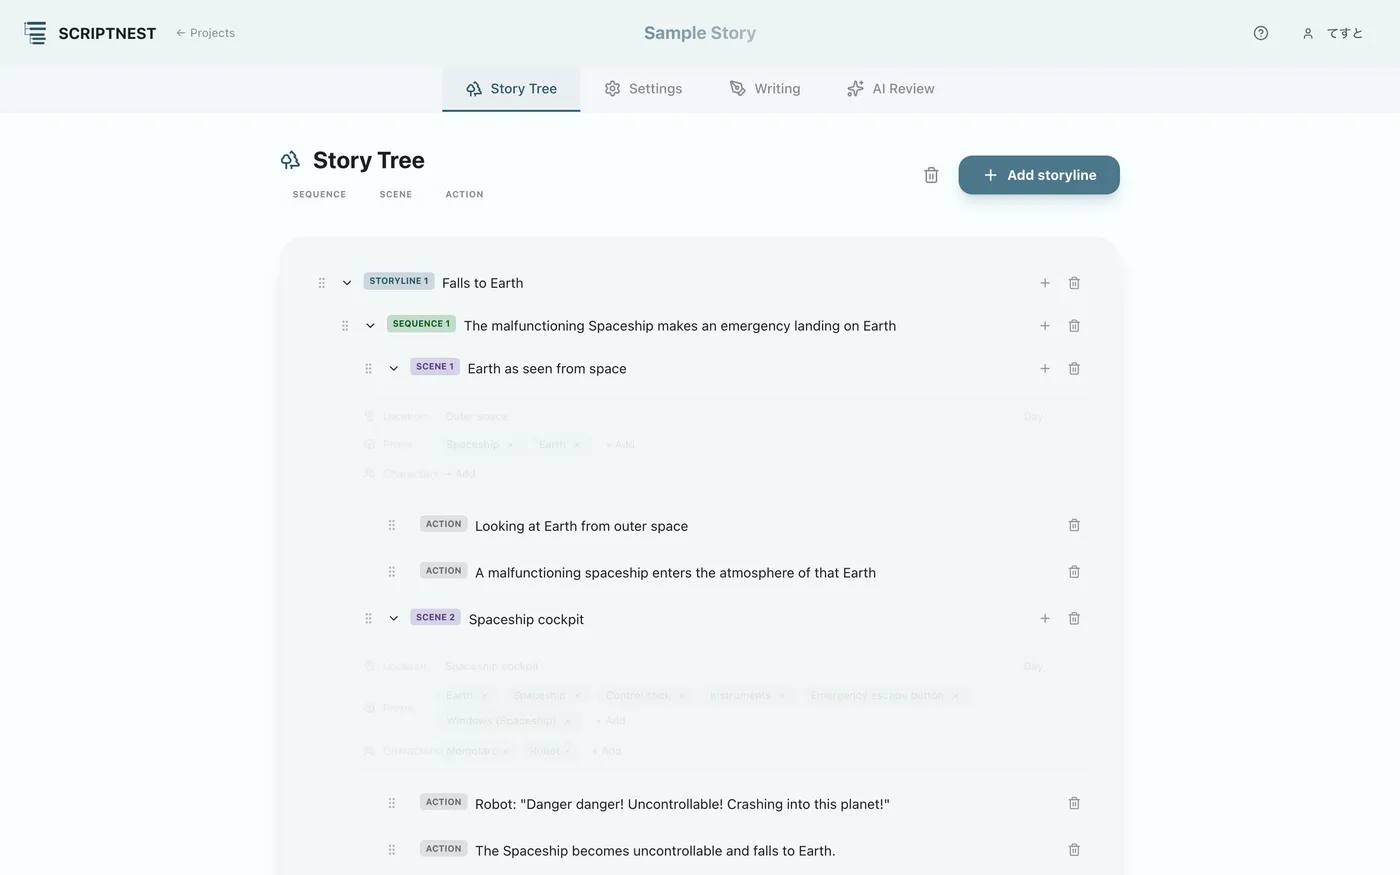
When you open a project, the story tree appears first. This is where you build the framework of your story.
Adding Lines and Sequences#
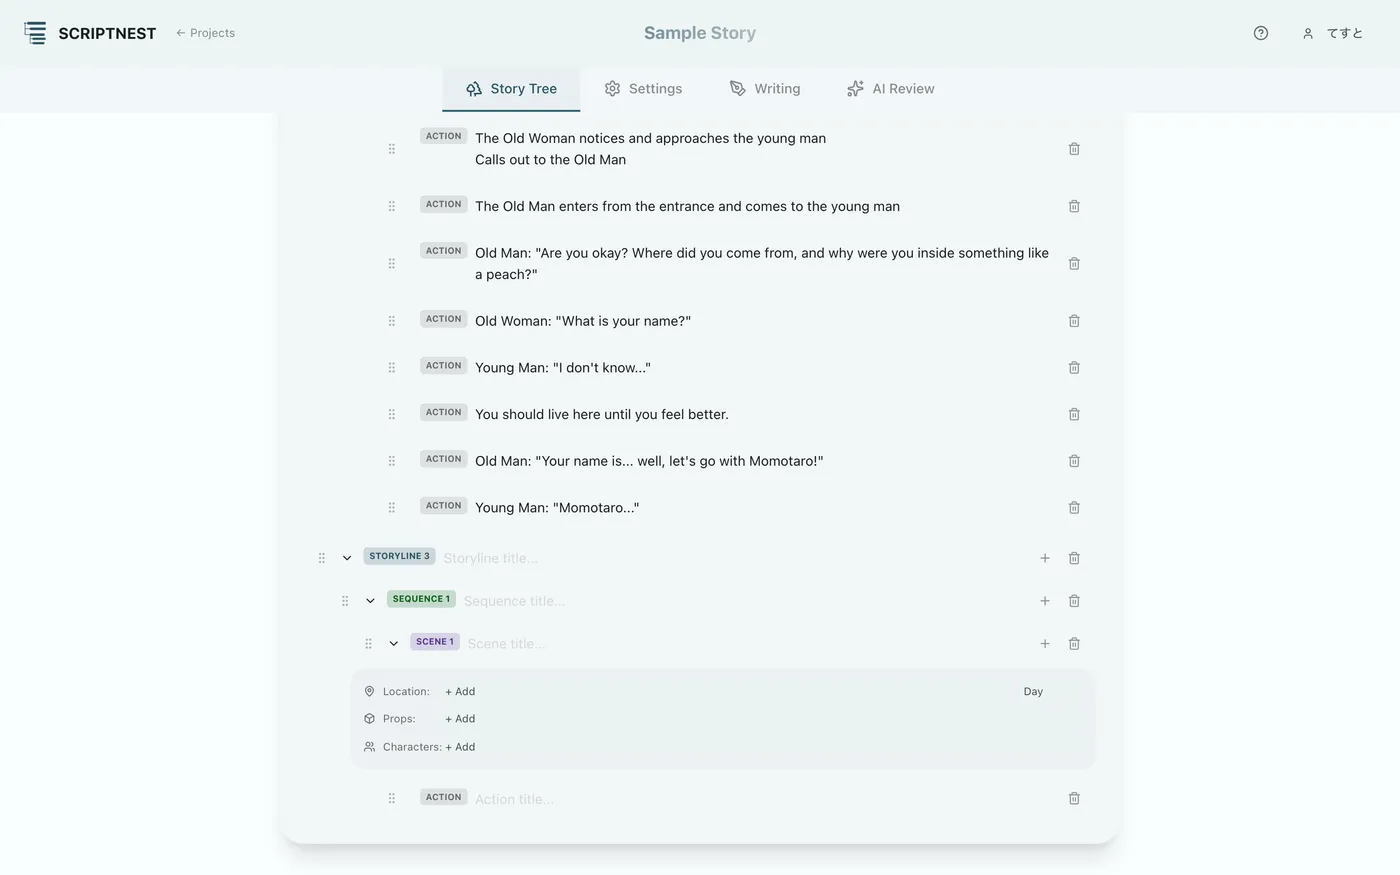
Use the “Add Line” button to create a “Line,” the main pillar of your story. Add a “Sequence” (a series of developments) by pressing the “+” at the right edge of the line.

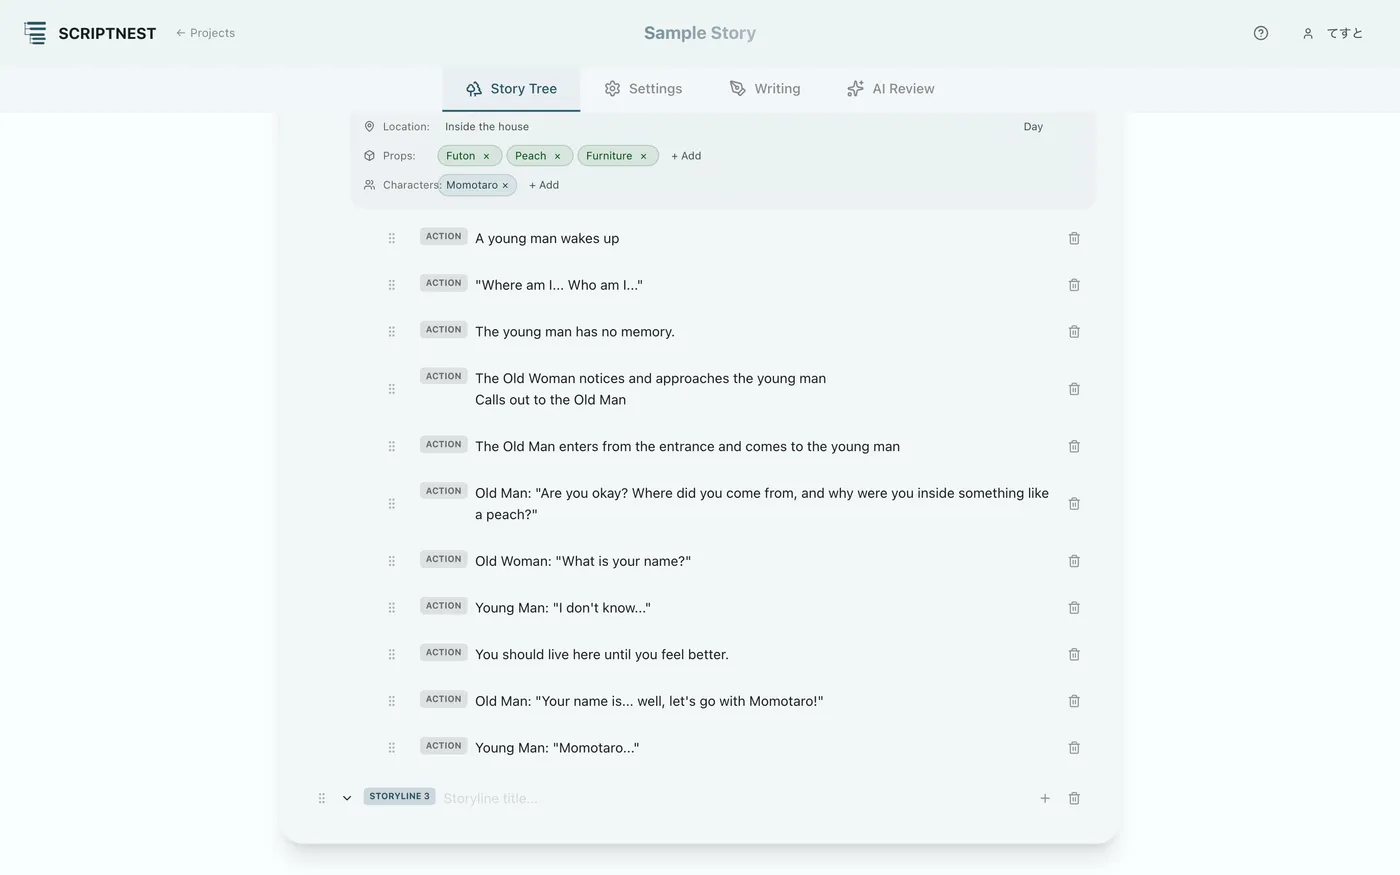

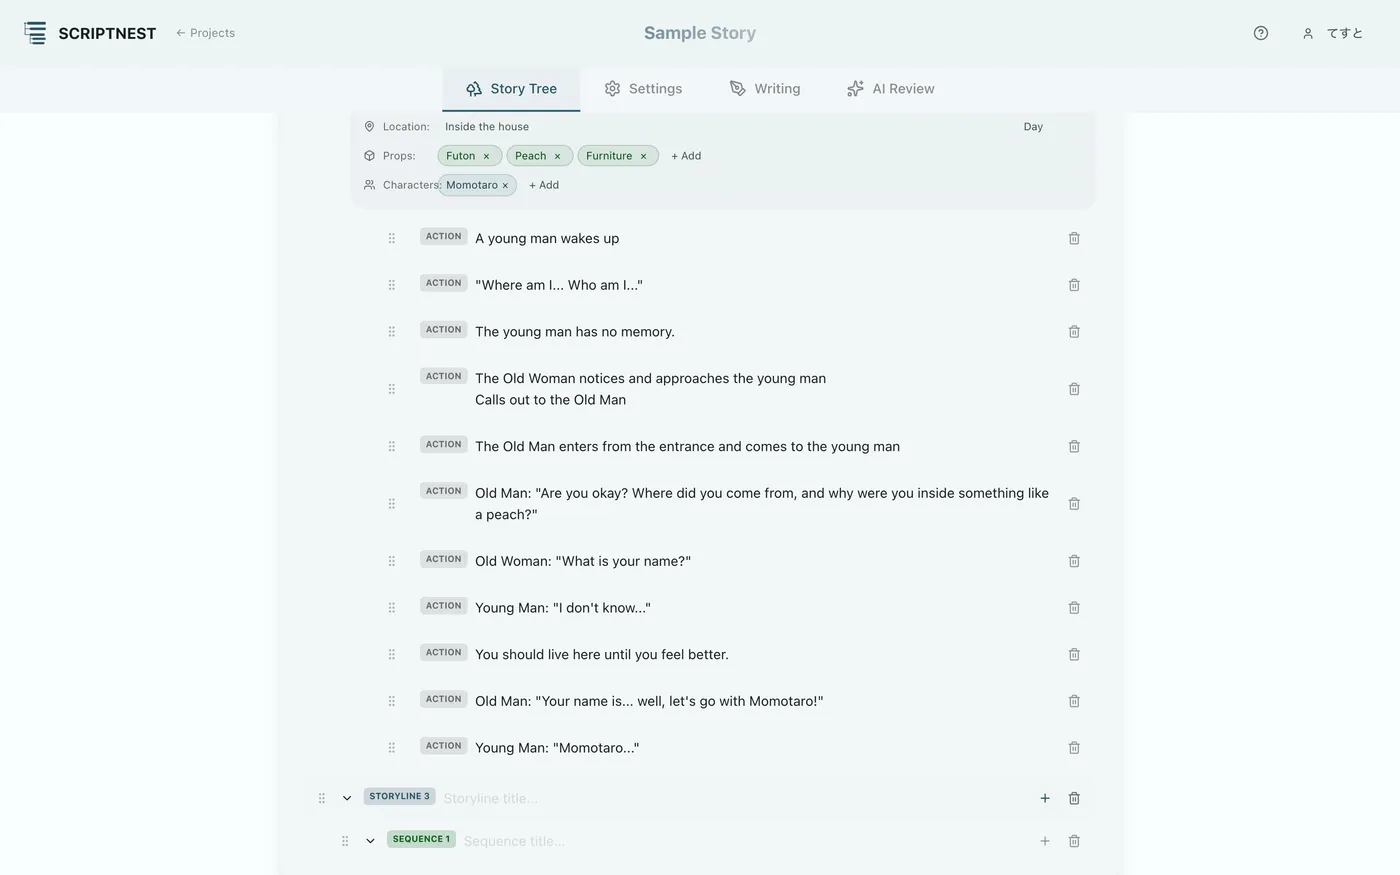
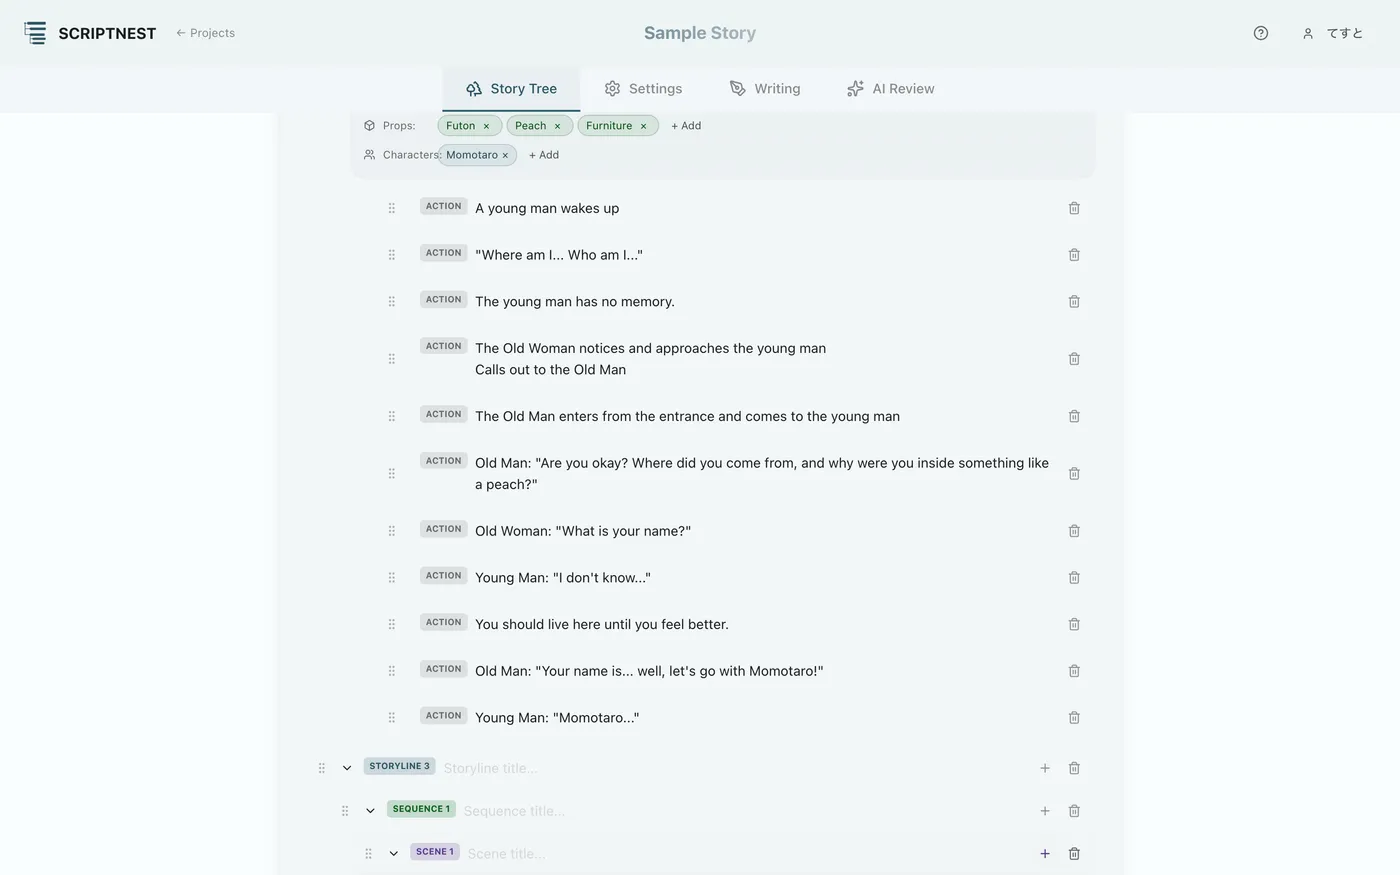
Adding Scenes and Acties#
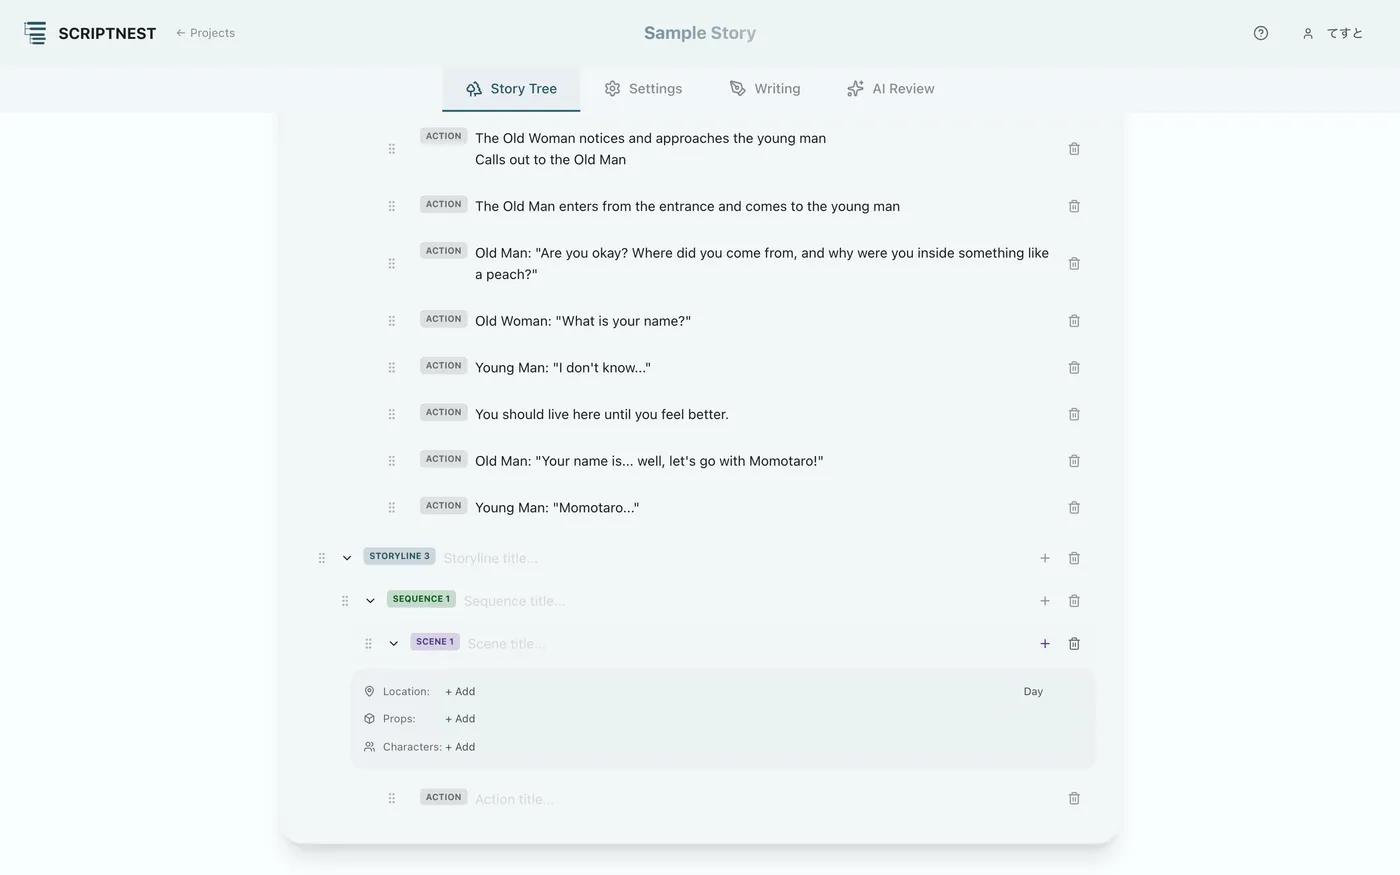
Add specific “Scenes” within a sequence, and then, within each scene, write out multiple “Acties (Actions)” describing what happens.
Intuitive Drag-and-Drop#
Every element in the tree (Lines, Sequences, Scenes, Acties) can be freely reordered by drag and drop. Changing your plot or reworking the structure goes extremely smoothly.
3Settings and Master Data Management
Set your theme and objective, and manage characters, locations, and props centrally as a database. This lets the AI read the settings accurately and write without contradictions.
Basic Settings and Scene Assignment
Basic Story Settings and Format#
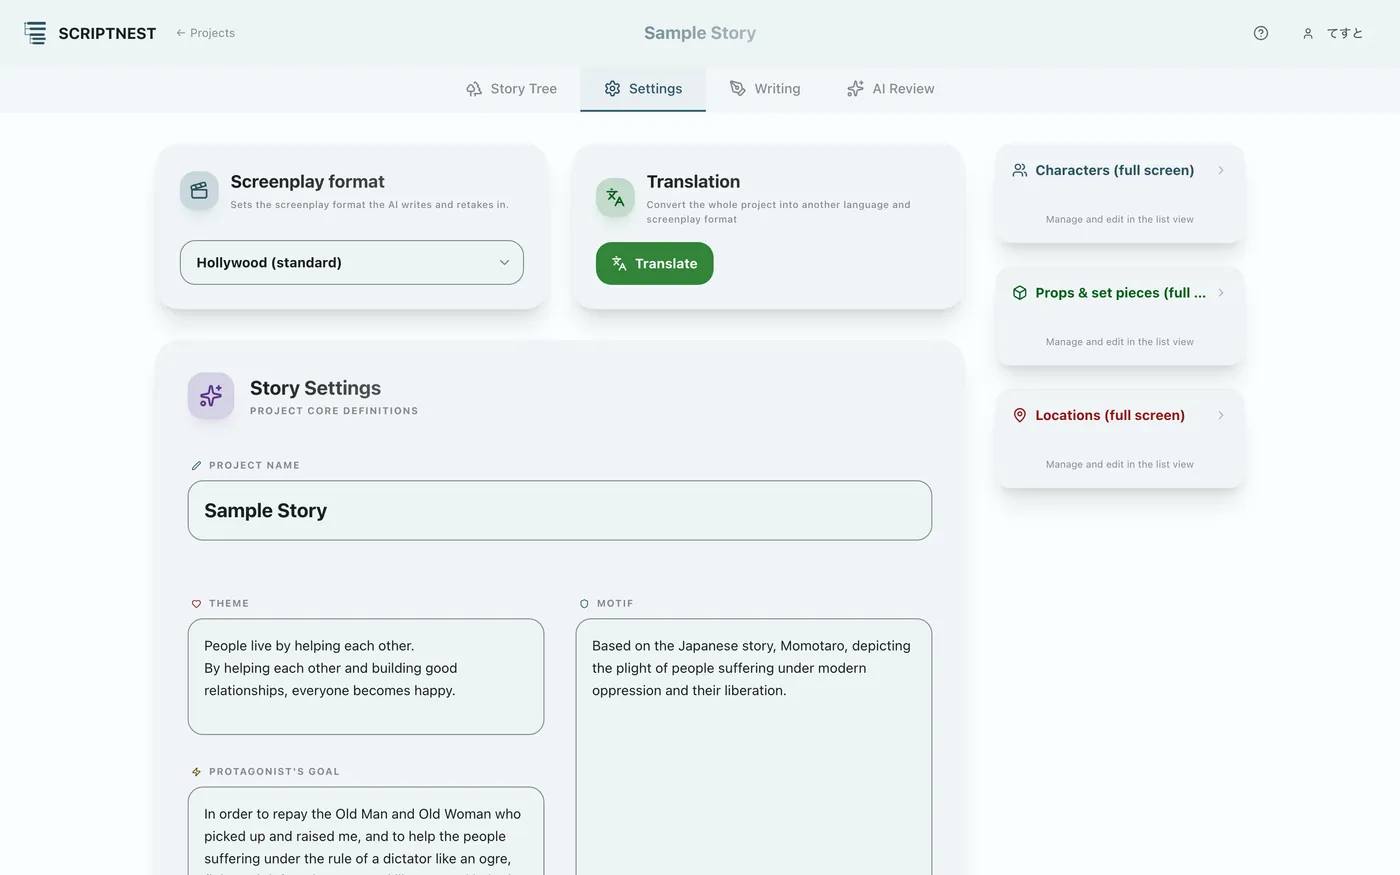
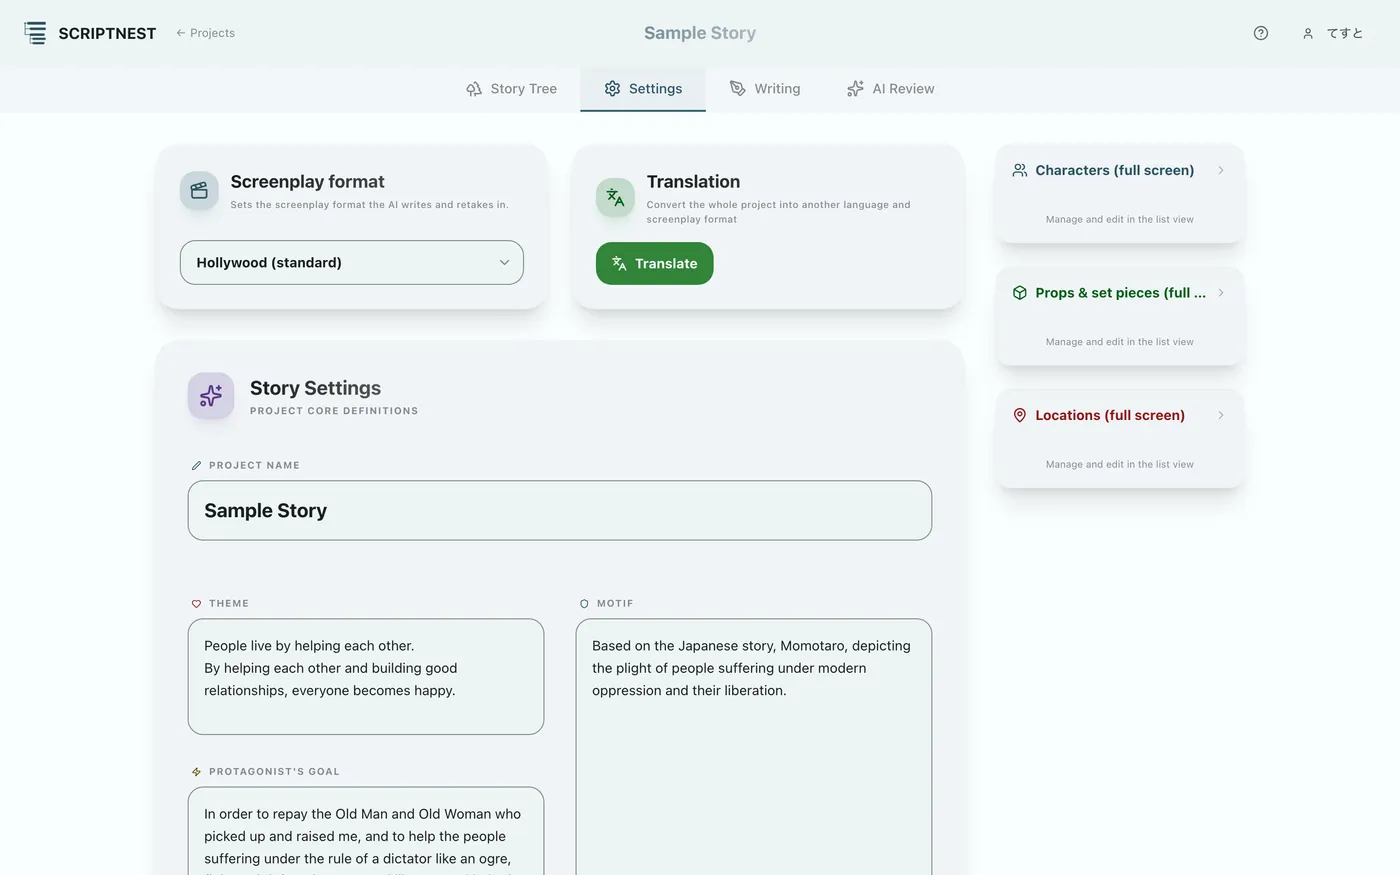
From the “Settings” tab, write in your story's theme, the protagonist's objective, and detailed settings. You can also specify the writing format (such as Japanese style) here.
Registering Elements to a Scene#
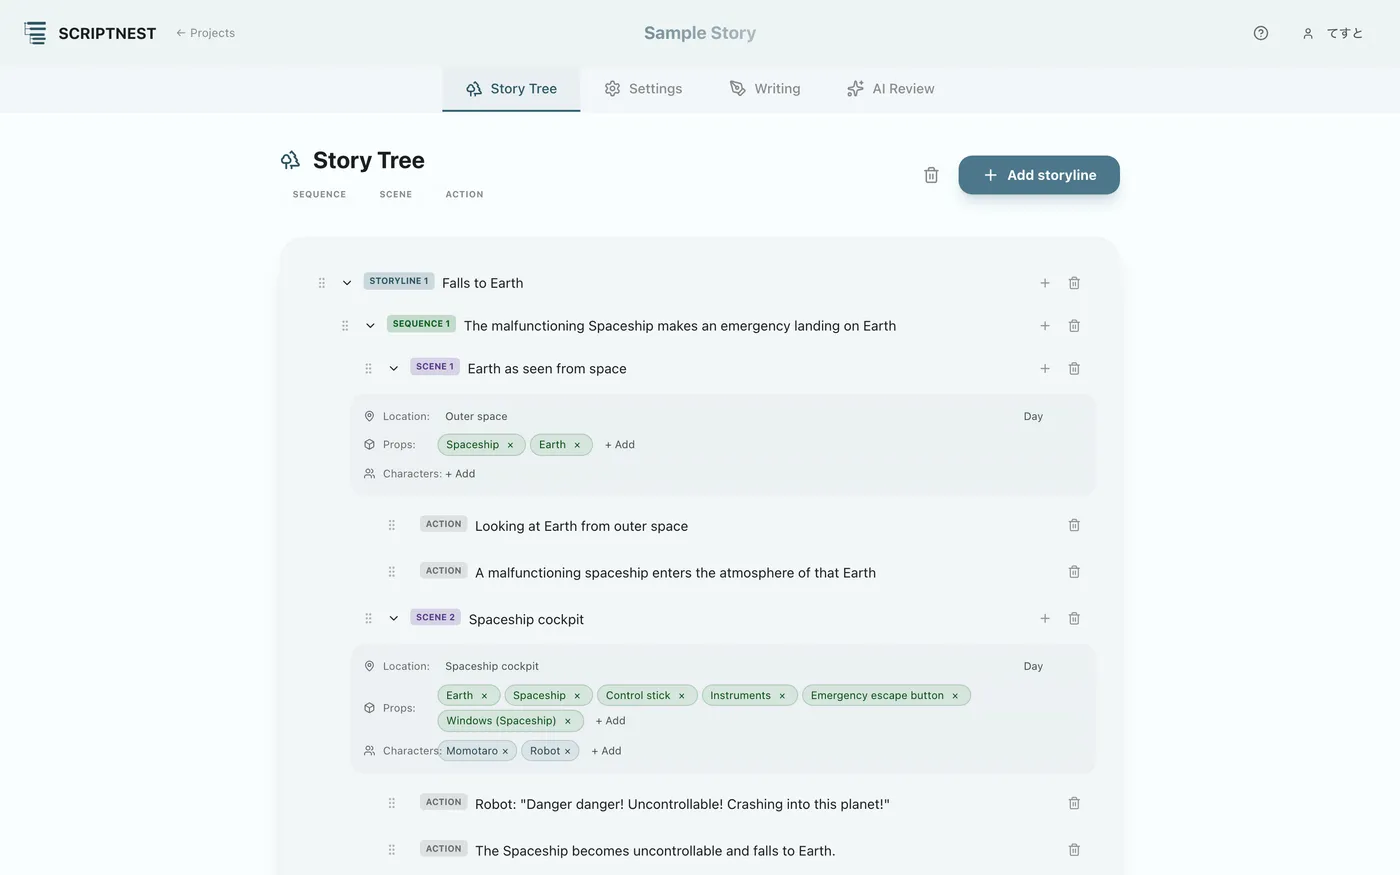
In each scene's panel, add and link the “Location,” “Props,” and “Characters” that appear in that scene.
Detailed Master Data Management
Managing and Deepening Characters#
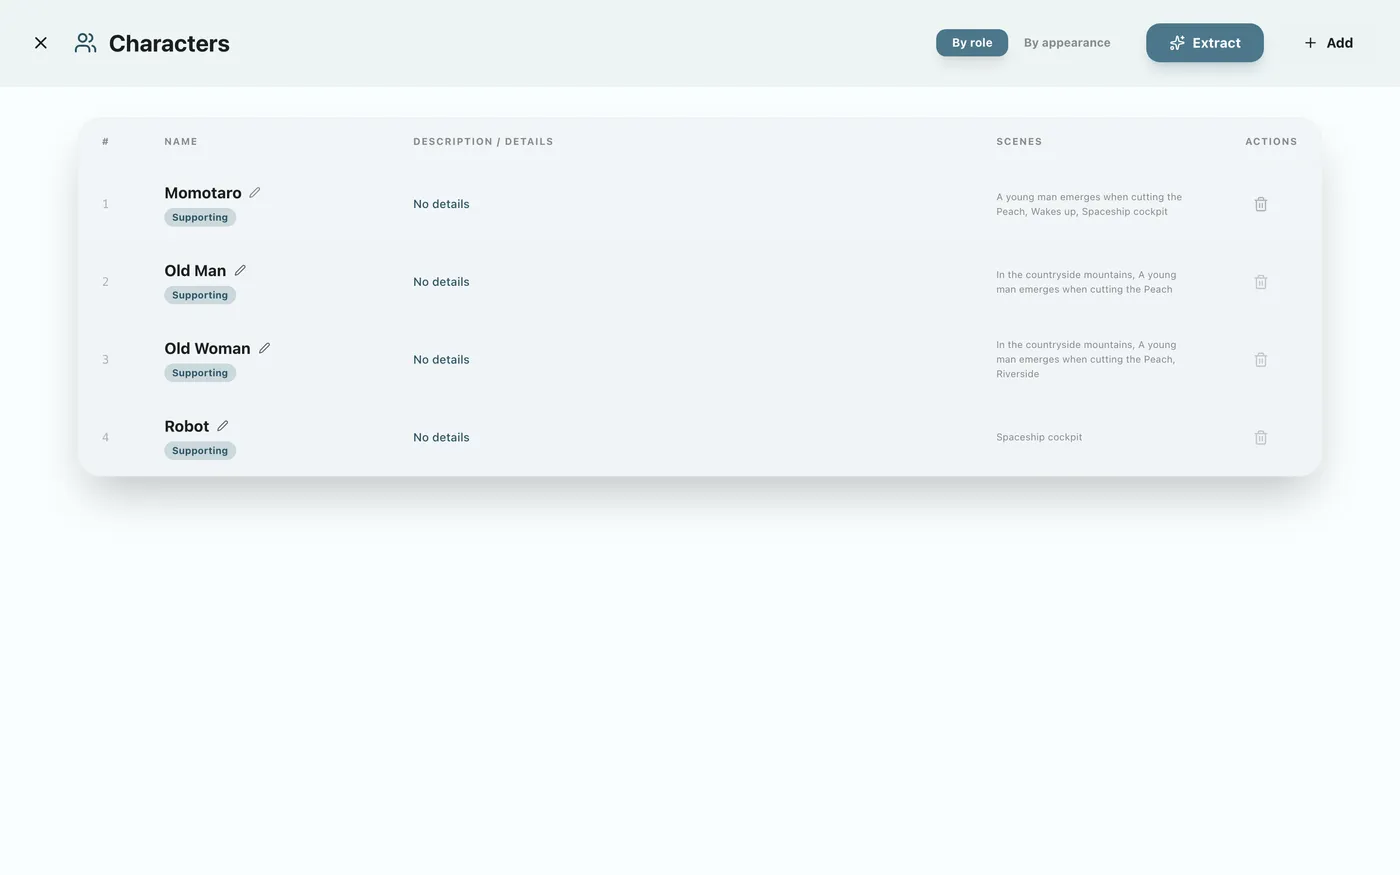
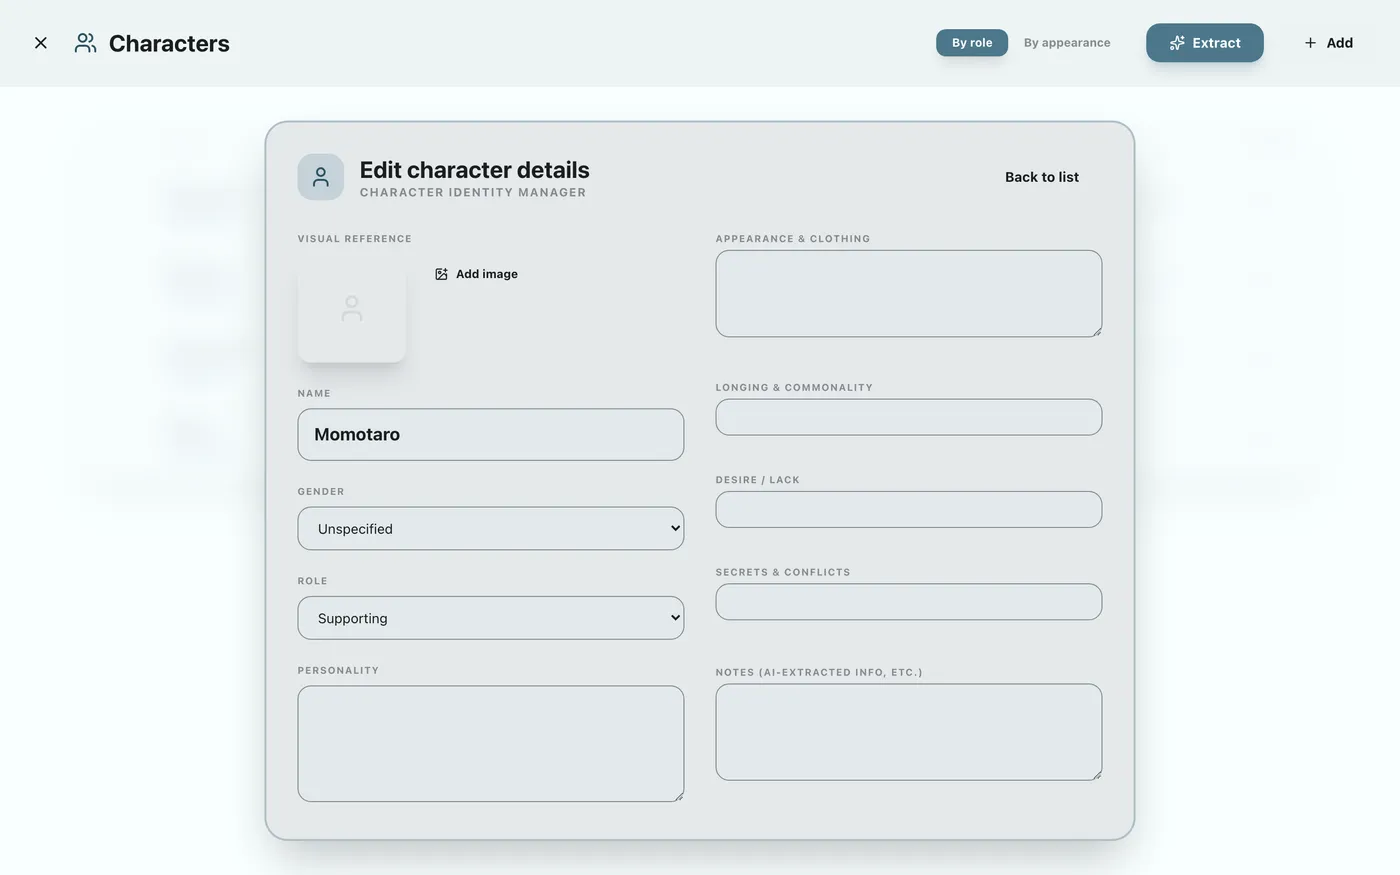
Registered characters are managed in a list. In the detail editing screen, you can define deep inner traits such as “wants/needs” and “secrets/lies,” prompting the AI toward vivid, believable portrayals.
Managing Locations/Props and AI Auto-Extraction#
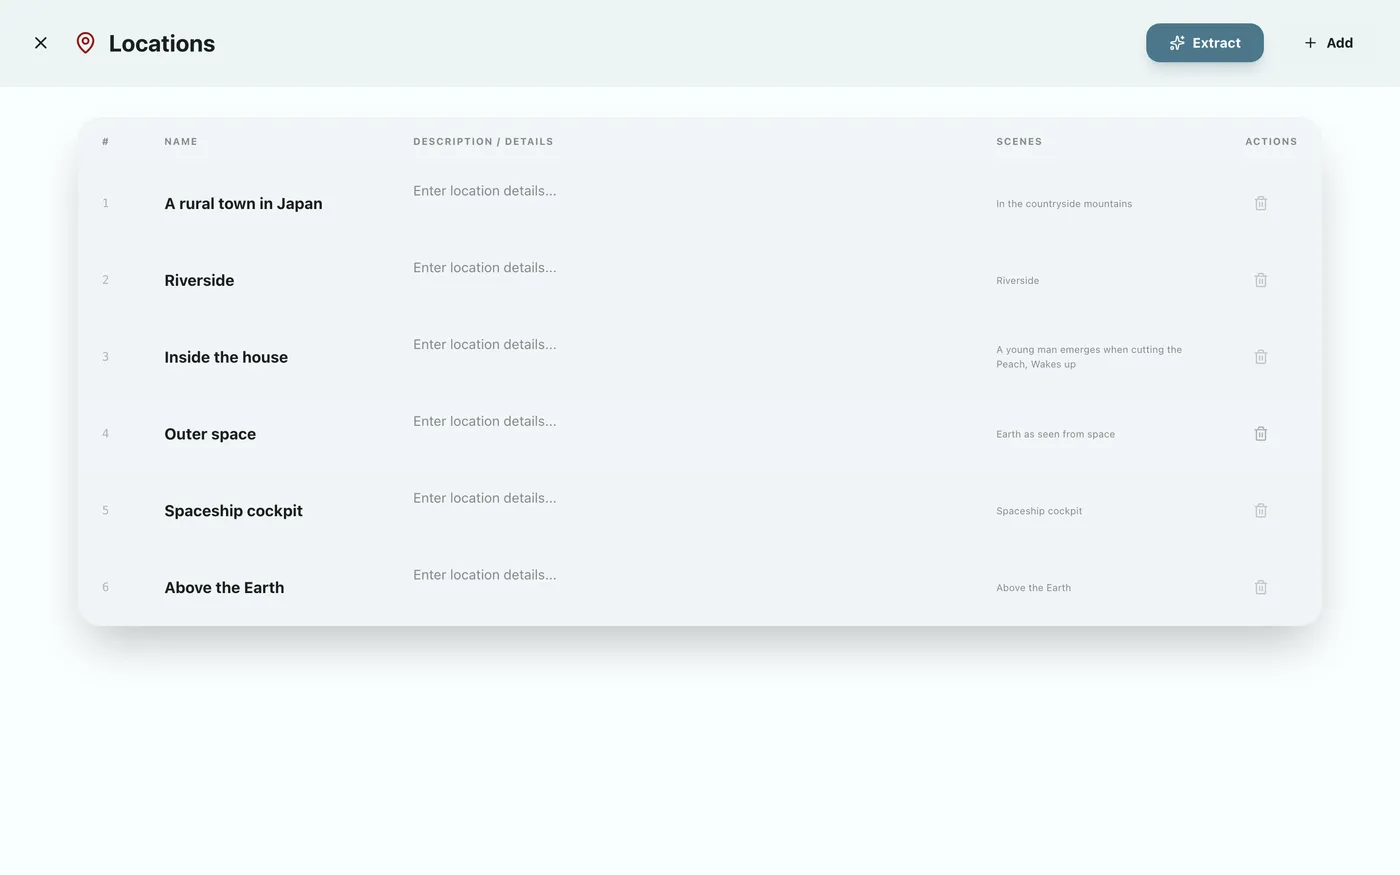
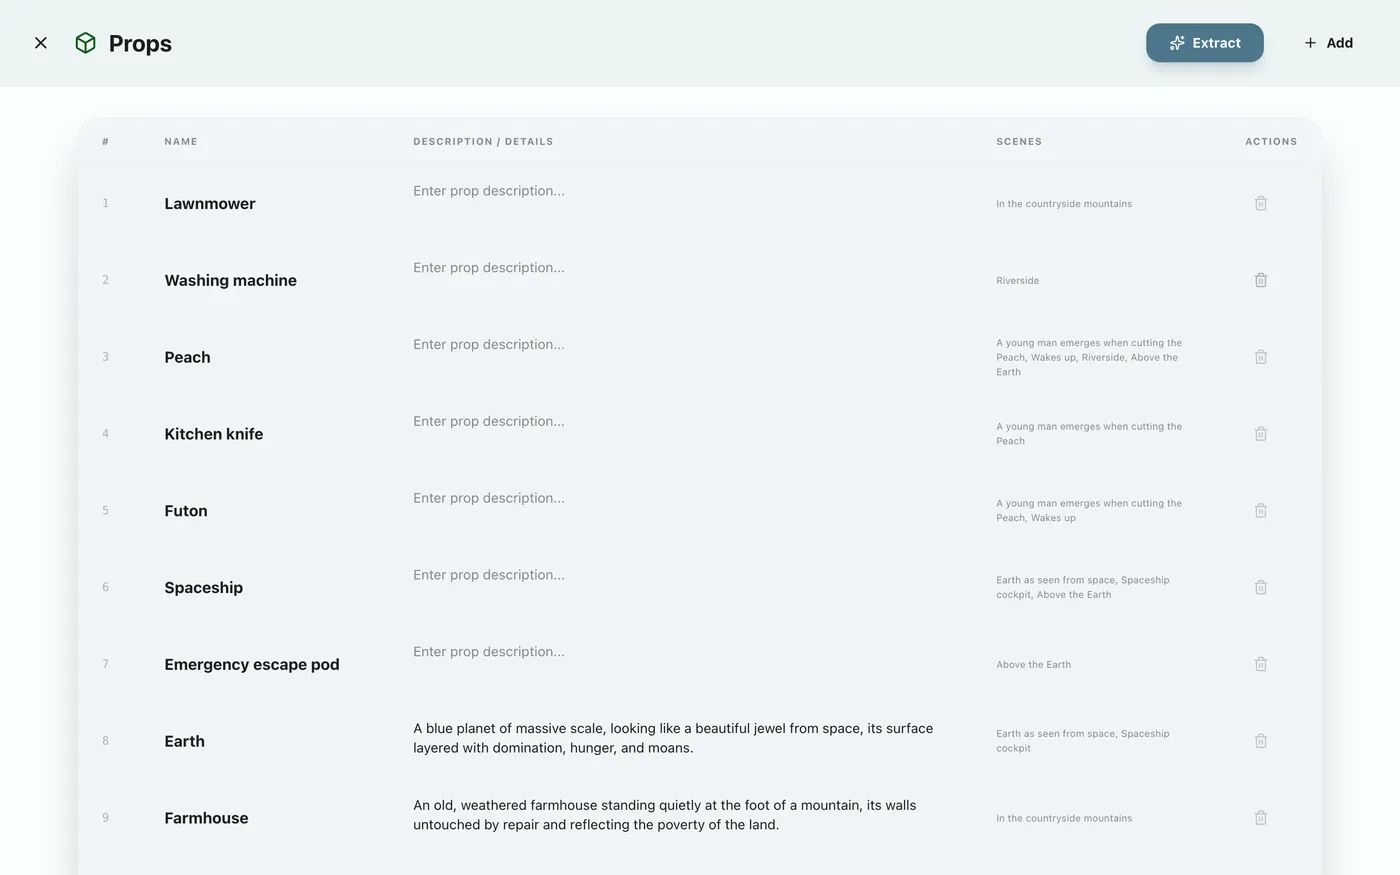
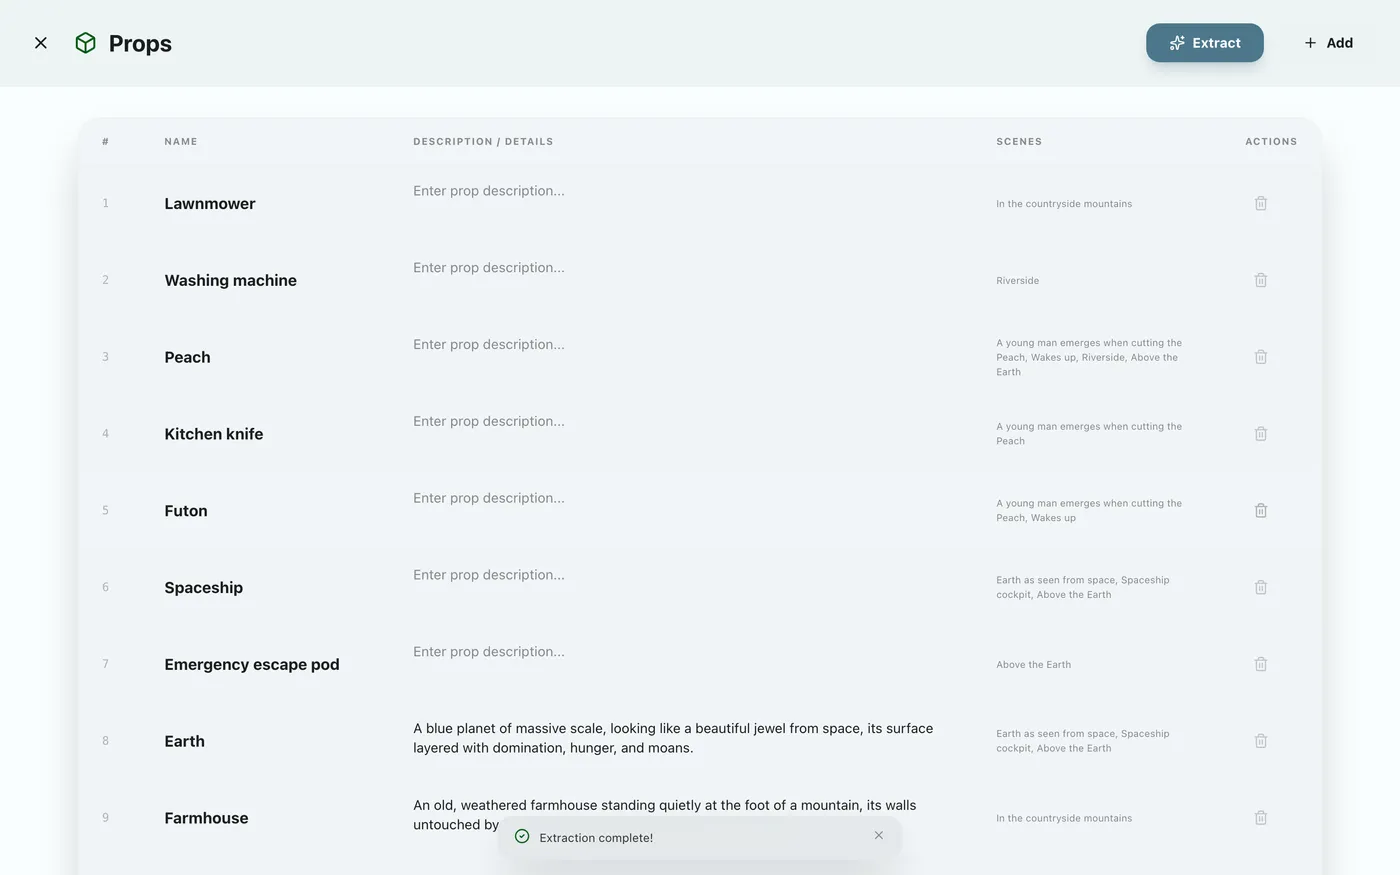
Locations and props are likewise managed in a list. There's also a handy feature that lets the AI automatically read through already-written screenplay text to extract and register this information.
Translating to Other Languages
Translating a Project#
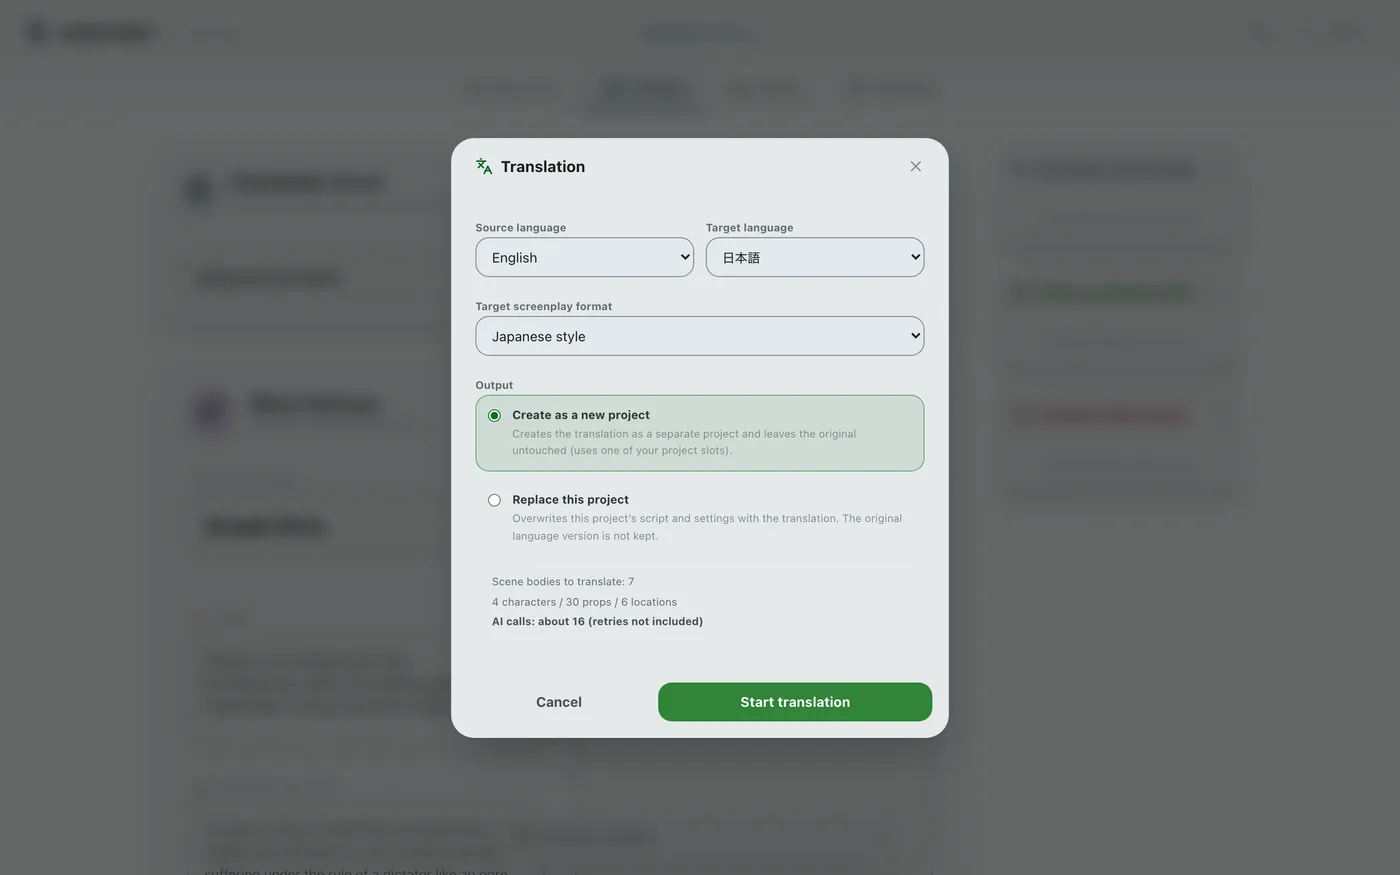
From the “Translate” section on the “Settings” tab, you can have AI translate the entire project into another language at once. You can choose whether to create the translation as a new project or replace the current one. This requires AI connection settings to be configured.
4Screenplay Writing and AI Assistance
Based on the tree and settings you've built, it's finally time to write the screenplay. Bring in cutting-edge AI as your partner for seamless collaborative work.
AI Setup and Starting to Write
AI Connection Settings (BYOK)#
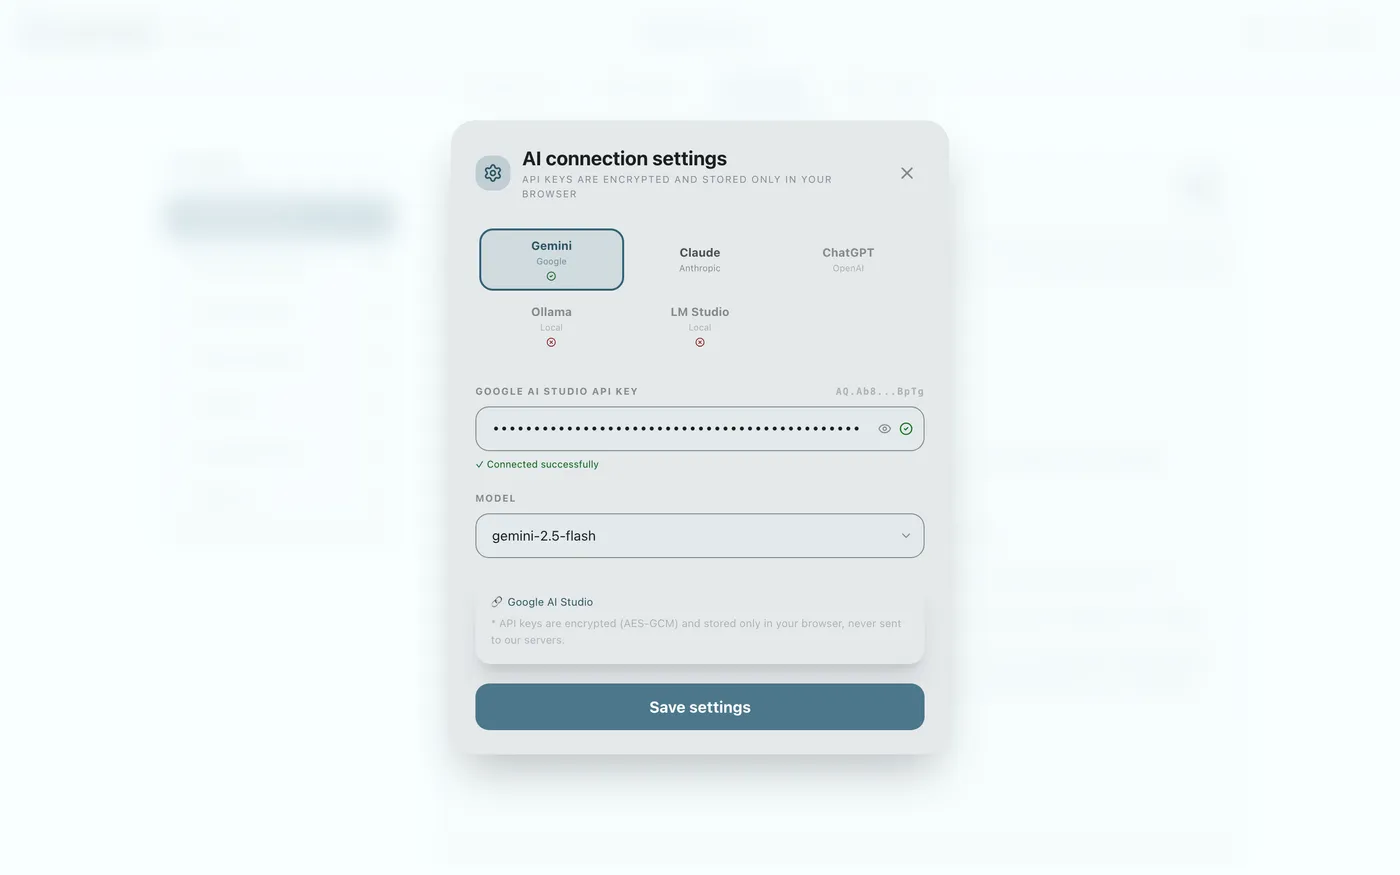
Connect to AI services such as Gemini, Claude, or ChatGPT using your own API key. You can choose the model that best fits the situation.
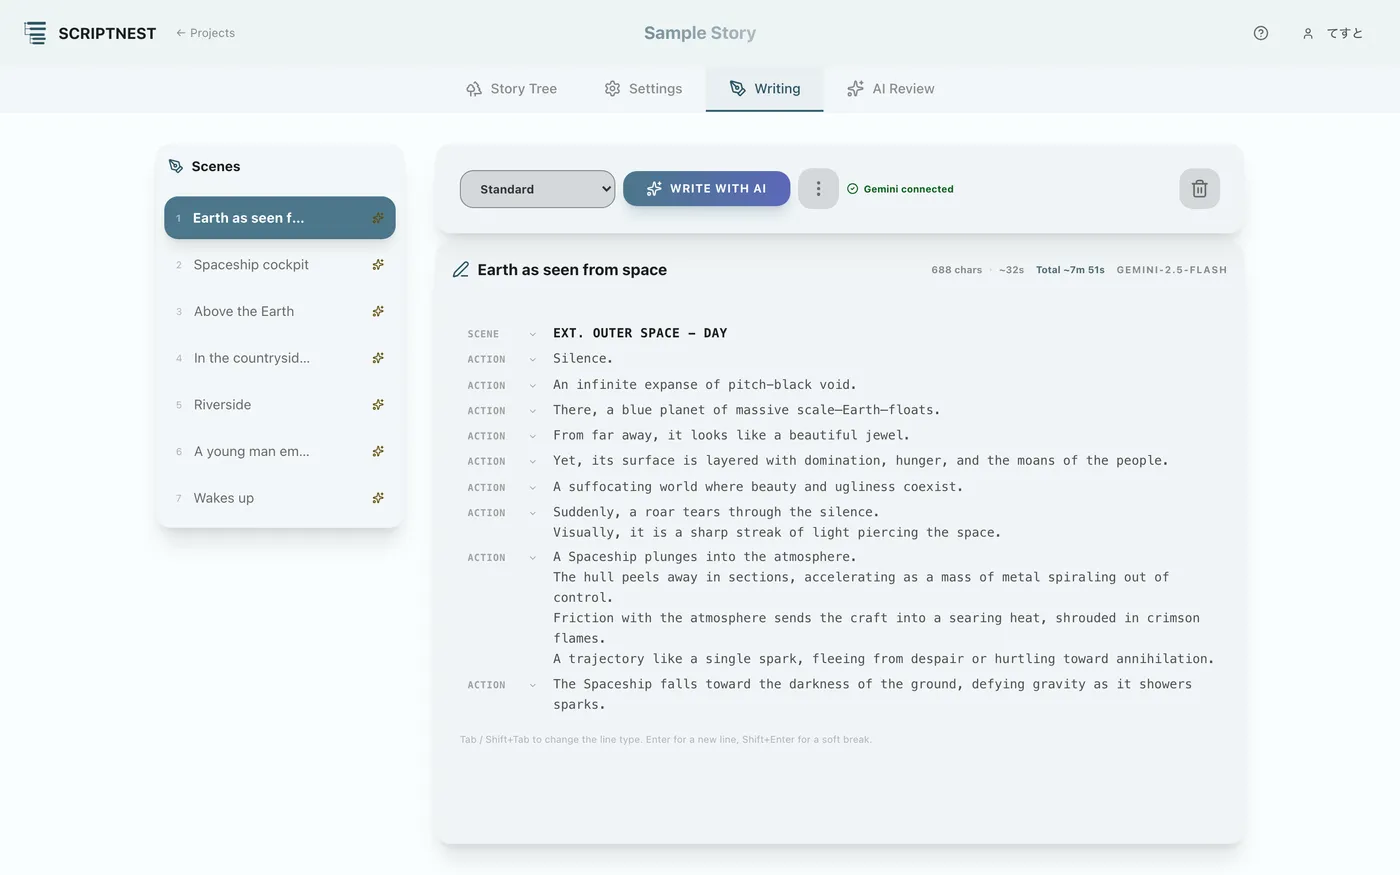
Story Writing Screen#
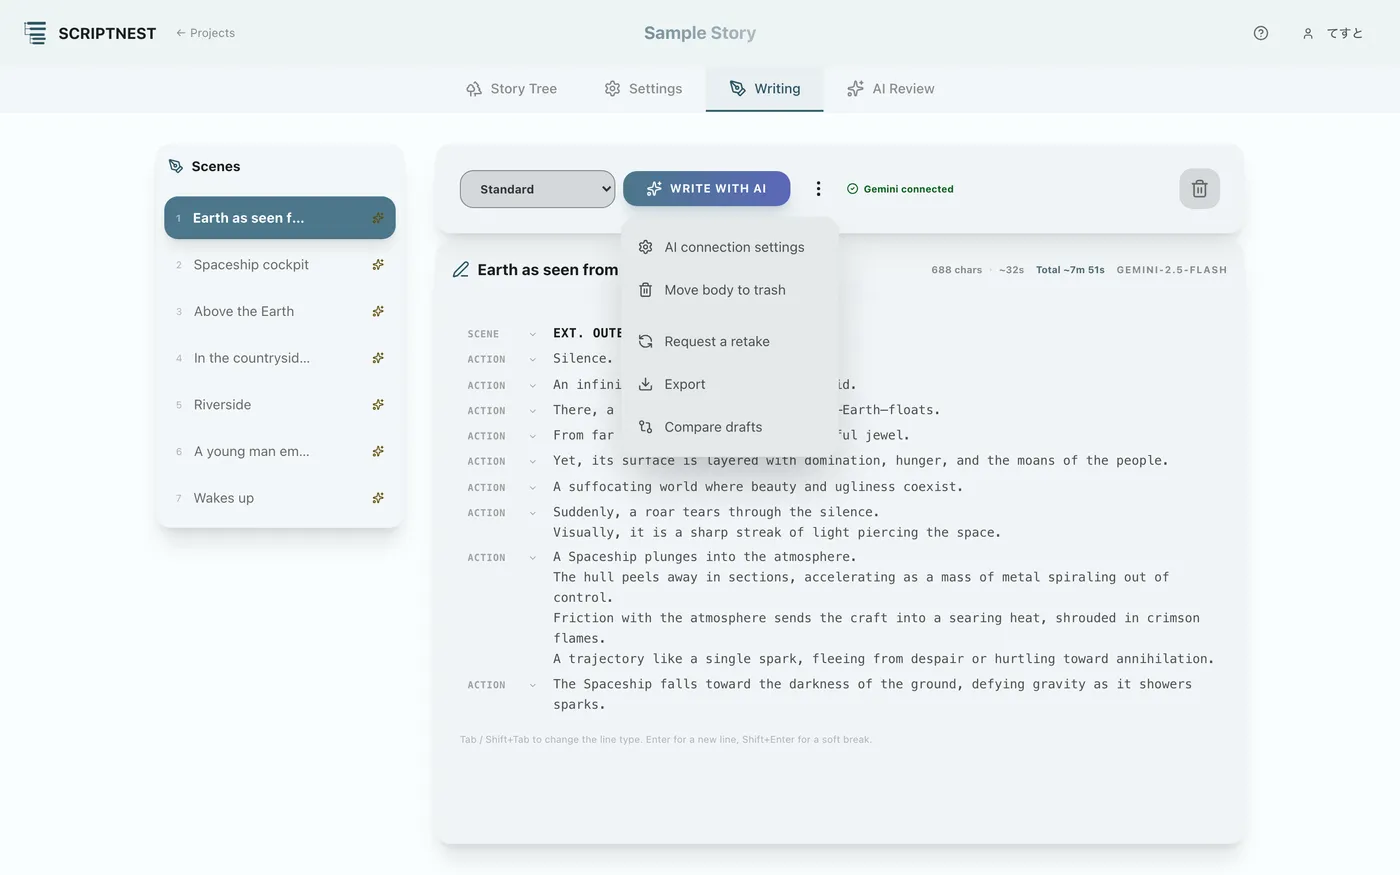
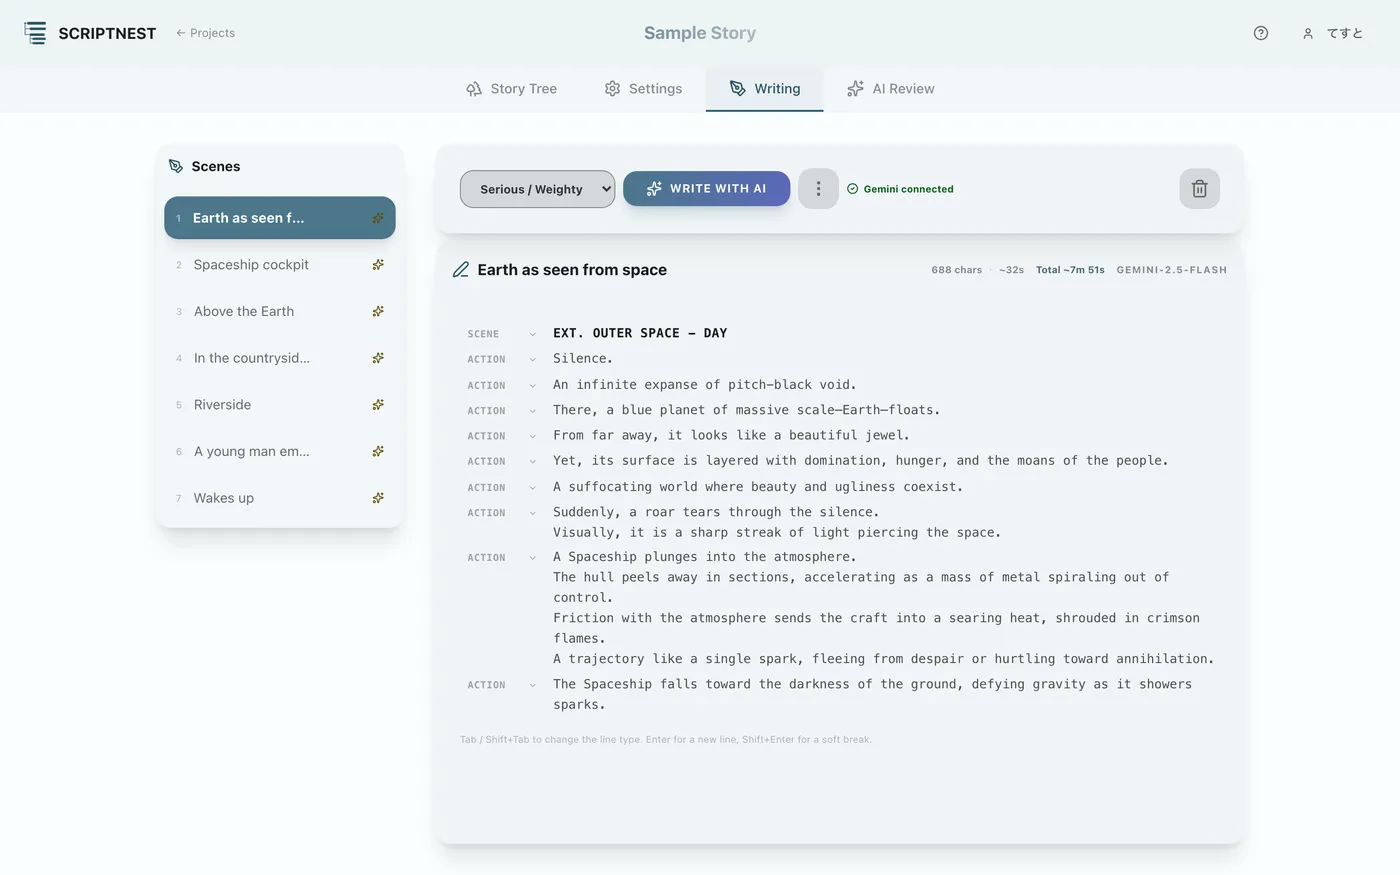
Open the “Story Writing” tab to see the writing editor for each scene. You can specify the style you've set (Standard, Serious/Heavy, Comedy, and so on).
Human-AI Collaboration (Manual Edits and Retakes)
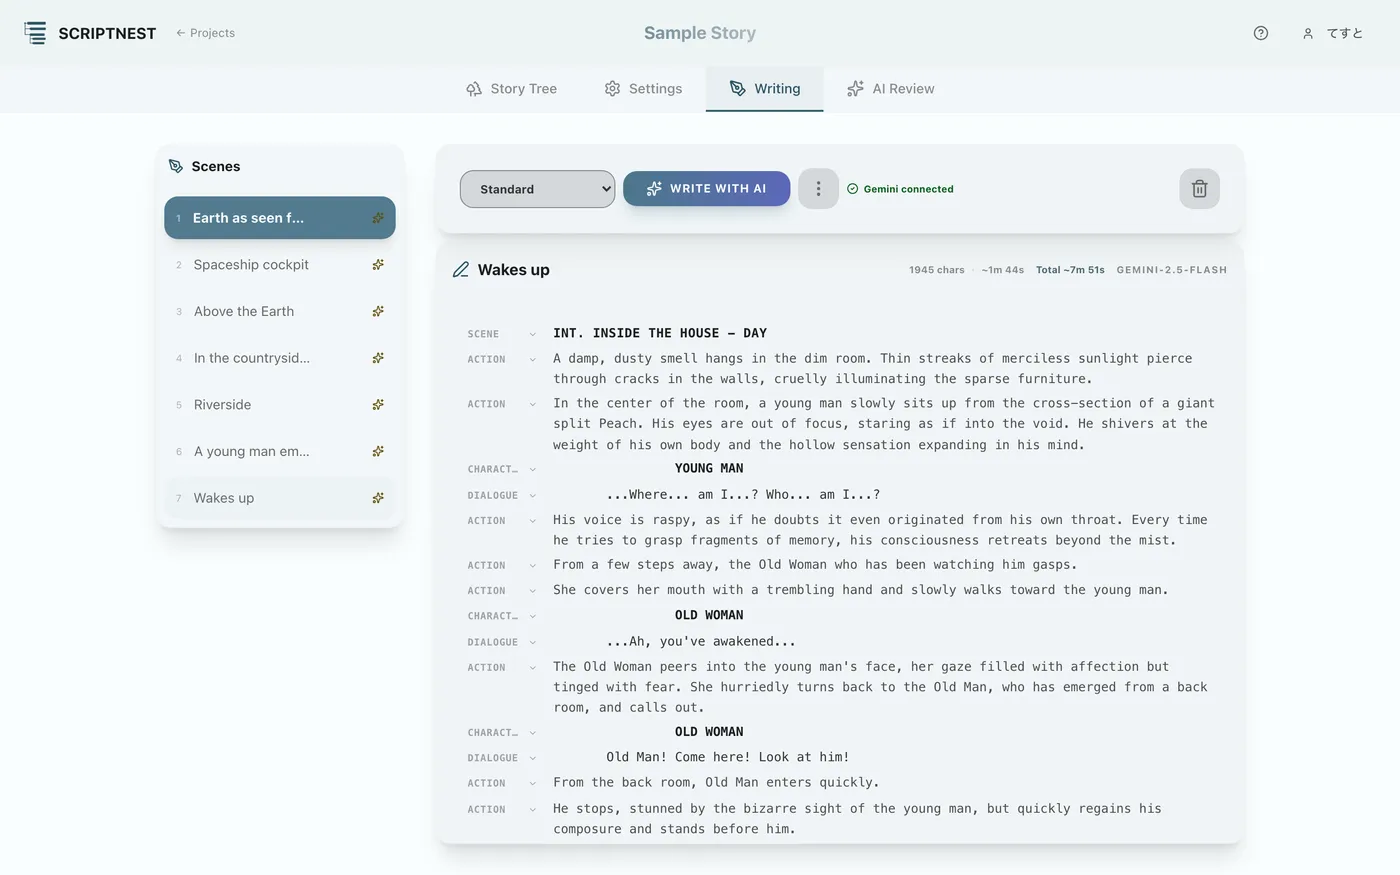
AI Writing and Manual Editing#
Press the “Write with AI” button, and the AI generates the screenplay based on the scene's settings and context. Of course, you can freely add to or edit the generated text directly in the editor.
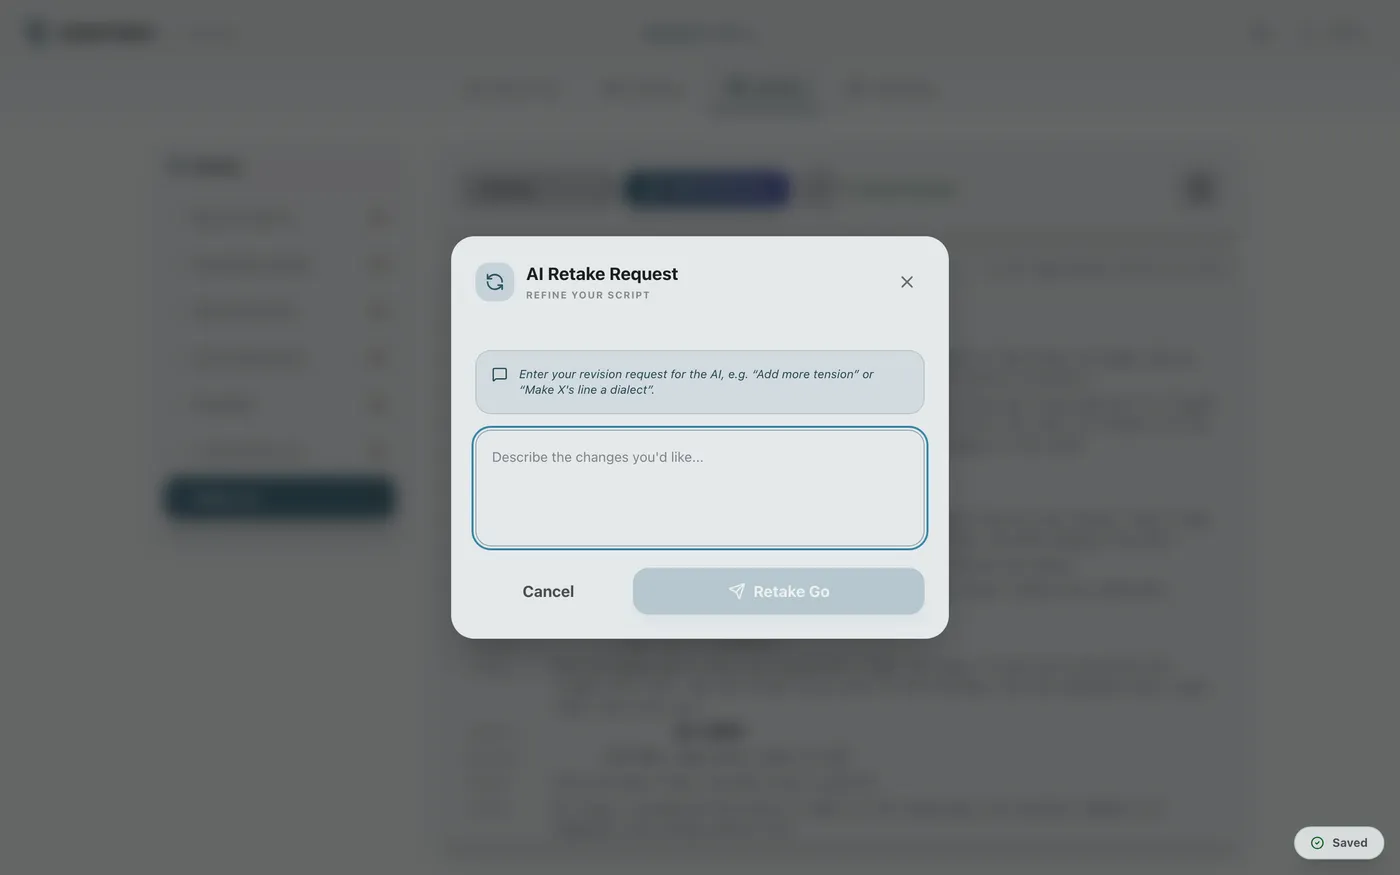
Requesting a Retake#
If the AI's output isn't quite what you intended, you can select “Request Retake” from the menu to have it rewritten.
5Analysis, Comparison, and Export
Scriptnest includes analysis features to raise the quality of your finished screenplay, and export features for sharing it on set.
Advanced Analysis and Comparison
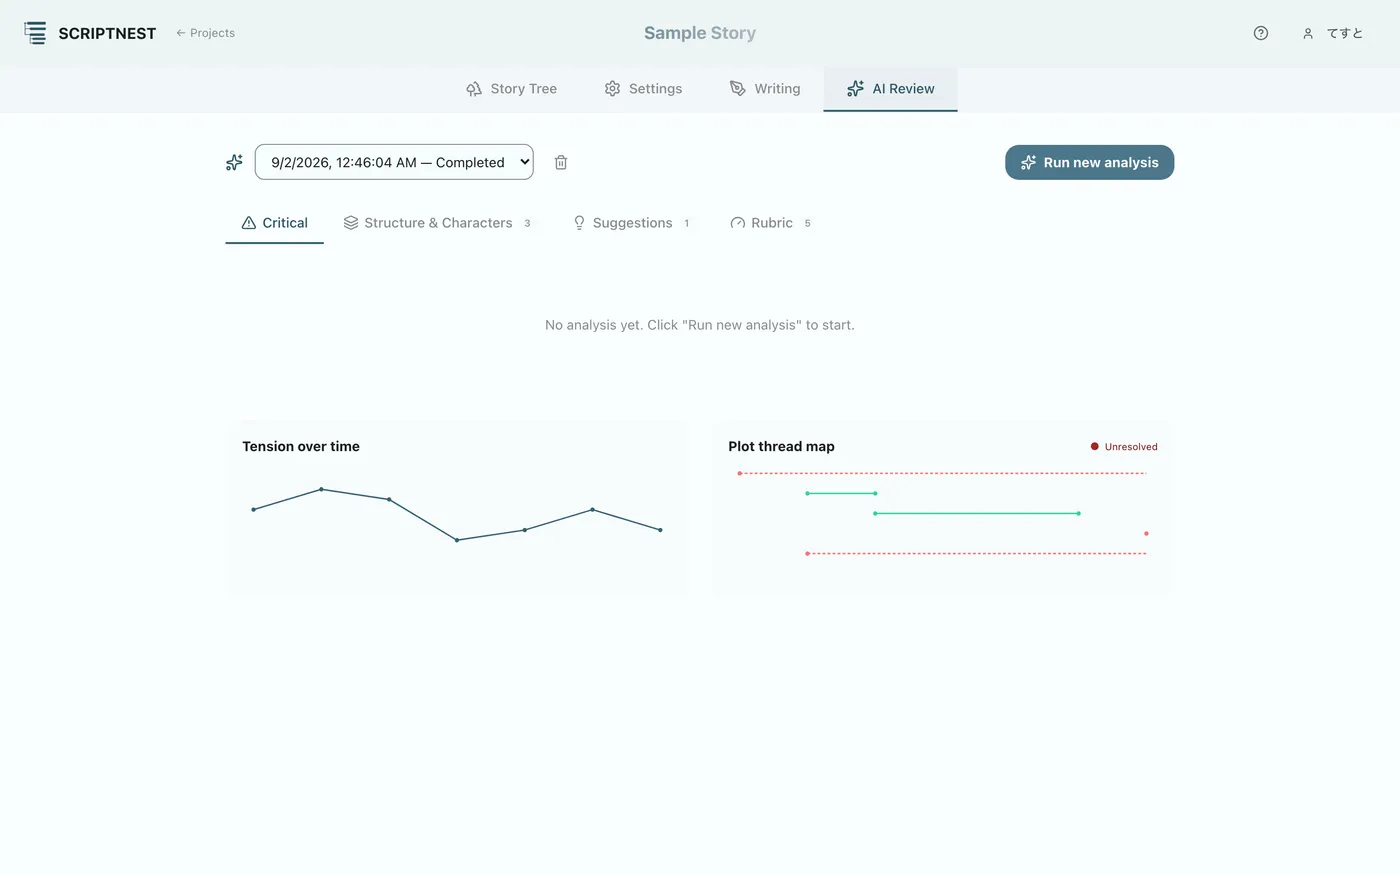
AI “Script Analysis & Contradiction Detection” Feature#
The AI automatically detects issues in your screenplay such as “timeline contradictions” and “inconsistencies in what characters know,” and suggests improvements. This lets you raise the completeness of your plot from an objective standpoint. Running this requires AI connection settings to already be configured from the Story Writing tab.
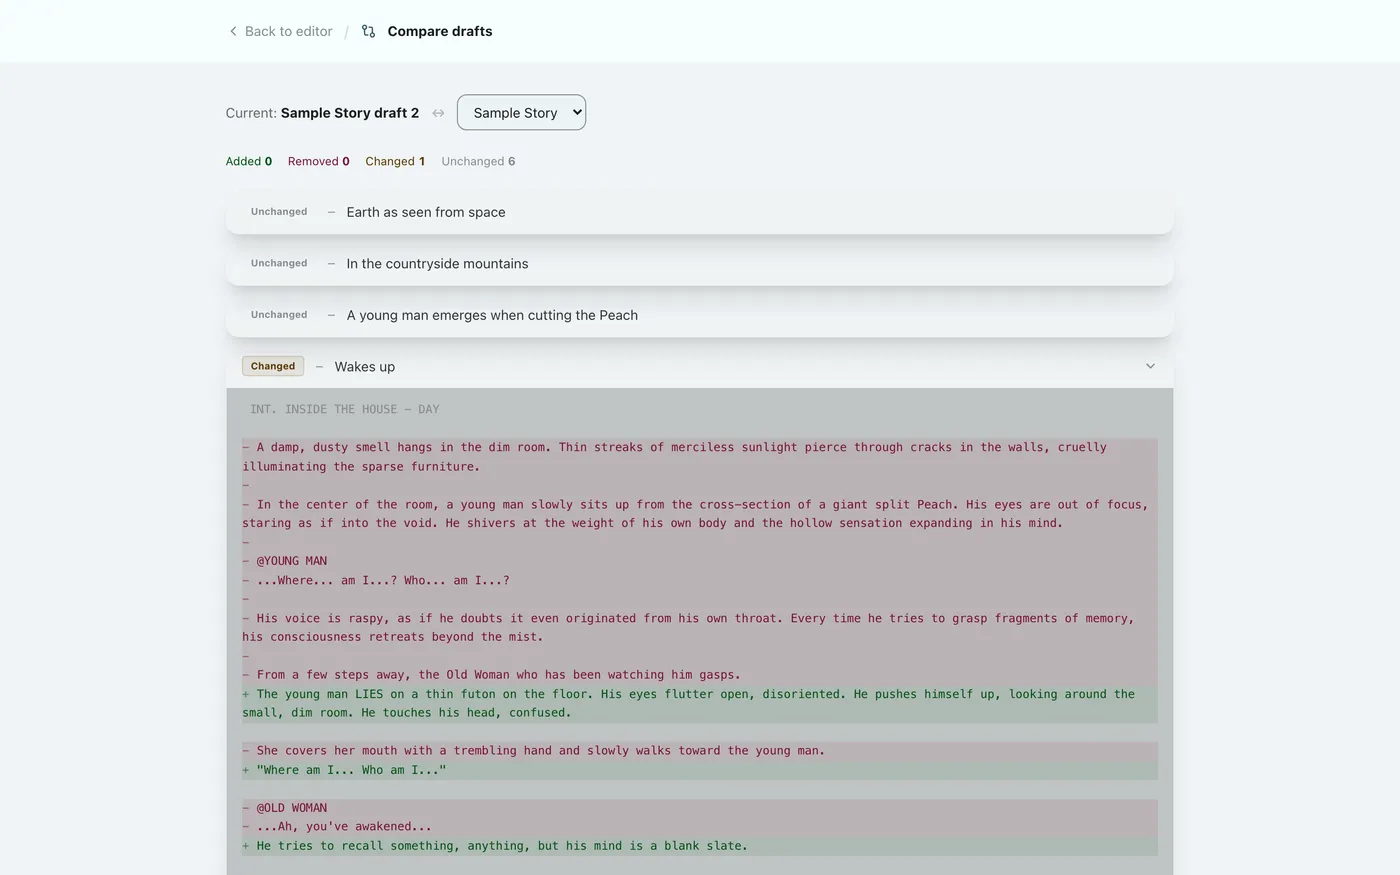
Visual “Draft” Comparison Feature#
Compare and check “what was added, removed, or changed” against a previous version (such as the first draft), clearly color-coded like a code diff.
Exporting the Screenplay
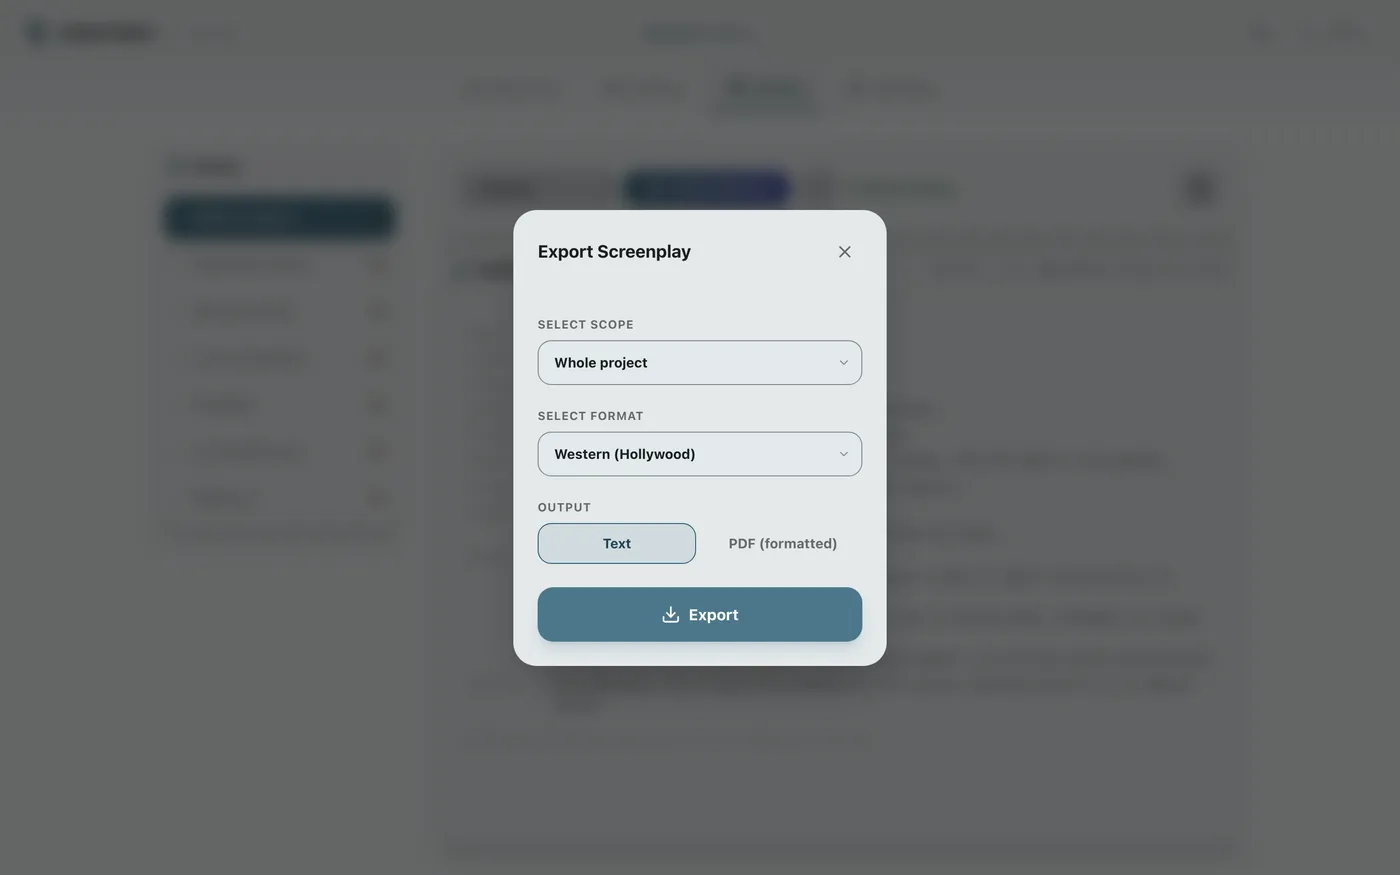
Exporting in a Professional Format#
With the “Export” feature, you can output your finished screenplay as a formatted PDF or text file with a single click. It's ready to share on set right away.
If you get stuck
Someone else may have run into the same thing. Ask questions or post requests in the community.